Contents
- 1 Which Free Website Builder Is Best for Indian Businesses in 2026?
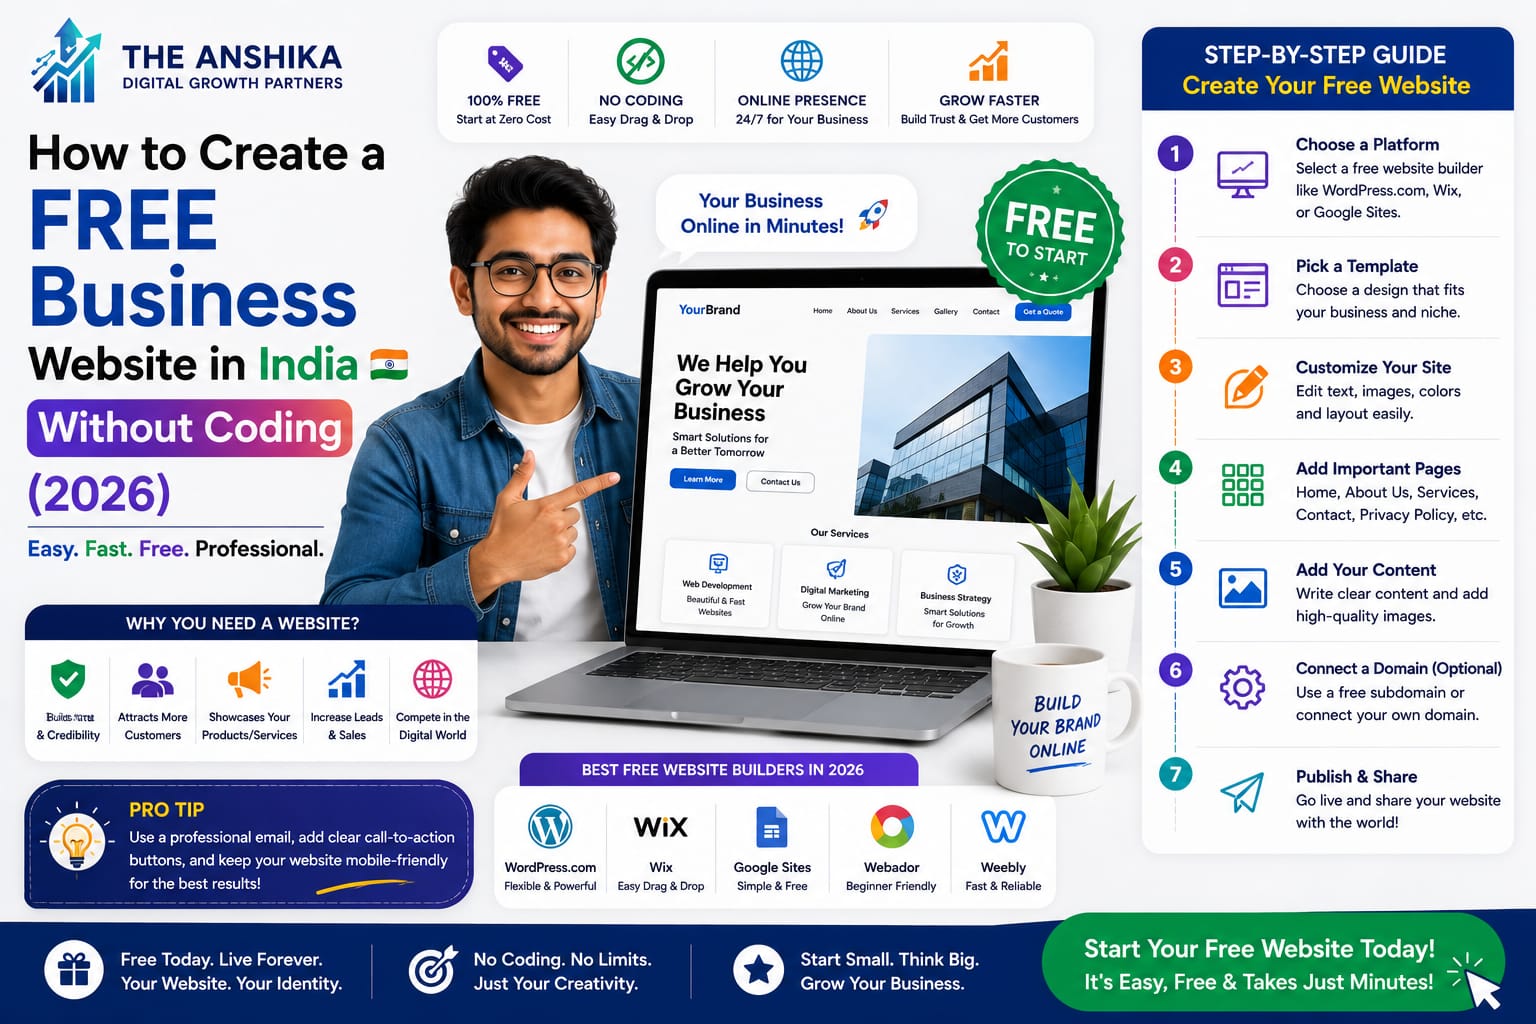
- 2 Step 1: Choose Your Platform and Create Your Account
- 3 Step 2: Choose a Template and Set Up Your Basic Structure
- 4 Step 3: Add Your Business Content — The Right Way Free business website India
- 5 Step 4: Add Your Contact Information Prominently
- 6 Step 5: Connect Google Search Console and Submit Your Site
- 7 When Should You Upgrade to a Paid Website?
Free business website India: A tailor shop owner in Rajahmundry told me something I still think about regularly. She said: “Everyone tells me I need a website, but when I asked a developer, he quoted ₹35,000. I thought websites were only for big companies.” I helped her build a clean, professional website on the same afternoon we spoke — for zero rupees. Six months later, that website was bringing her 8 to 12 new customer inquiries per week from people searching Google for tailors in her area. The idea that websites require large budgets or technical expertise is one of the most persistent and damaging myths in Indian small business culture.
In 2026, creating a free, professional-looking business website in India requires no coding, no design degree, and no large investment. The tools available today are genuinely excellent — and several of them are completely free for basic business needs. This guide will show you exactly how to do it, which platform to choose for your specific situation, and what your website must include to actually attract and convert customers.
Which Free Website Builder Is Best for Indian Businesses in 2026?
The three most suitable options for Indian small businesses are Google Sites, WordPress.com (free plan), and Wix (free plan). Each has different strengths and is suited to different situations.
Google Sites is the simplest option and integrates directly with other Google tools like Google Drive, Google Forms, and Google Maps. It is completely free with no forced ads on your site, and because it is hosted by Google, it tends to load quickly even on Indian mobile connections. The limitation is that it has fewer design options than other platforms. It works best for service businesses, freelancers, and shops that need a simple information page with contact details, photos, and a brief description of their services.
WordPress.com free plan gives you access to hundreds of professionally designed themes and basic blogging features. The free plan does place ads on your site and uses a wordpress.com subdomain rather than your own domain. For a business that plans to grow seriously, the paid plans starting at around ₹200 per month remove these limitations. However, for testing and getting started, the free plan works well.
Wix free plan offers the most design flexibility of the three, with a drag-and-drop editor that makes it easy to create visually impressive websites without any technical knowledge. Like WordPress.com, the free plan uses a Wix subdomain and displays Wix ads on your site. The upgrade to a paid plan (starting around ₹250 per month) removes these and adds your own domain.
Step 1: Choose Your Platform and Create Your Account
Based on the descriptions above, pick the platform that fits your situation. If you want the absolute simplest experience and plan to keep it free long-term, choose Google Sites — go to sites.google.com and sign in with your Gmail account. If you want more design control and might upgrade later, choose Wix — go to wix.com and create a free account.
For this guide, I will use Google Sites as the example since it is the most accessible for Indian business owners with no prior web experience. The principles apply to all platforms.
Step 2: Choose a Template and Set Up Your Basic Structure
Google Sites and Wix both offer templates — pre-designed website layouts that you customise with your own content. Choose a template that matches your business type: there are templates for restaurants, salons, shops, professional services, and portfolios. You are not locked in — you can change almost anything — but starting with a relevant template saves significant time.
Your business website should have at minimum these pages: Home (your main landing page), About (who you are and your story), Services or Products (what you offer with descriptions and prices if possible), Gallery or Portfolio (photos of your work), and Contact (your phone number, WhatsApp link, email, and Google Maps embed of your location).
Step 3: Add Your Business Content — The Right Way Free business website India
The content you add to your website is more important than the design. A simple website with excellent, clear content will always outperform a beautiful website with vague or generic text.
Your Home page headline should clearly state what you do and who you serve — in one sentence. Not “Welcome to Our Website” but rather “Kakinada’s Trusted Tailor for Women’s Traditional Wear — Custom Blouses, Salwars, and Lehengas.” This immediately tells a visitor whether they are in the right place.
Your About page should tell your real story. When did you start? Why? What makes you different? Include a photo of yourself or your team — Indian customers are significantly more likely to contact a business when they can see a real person behind it. The About page is where trust is built.
Your Services page should list each service with a brief description and, if possible, a price range. “Blouse stitching — ₹350 to ₹800 depending on design complexity” is far more useful to a potential customer than just “Blouse Stitching” with no details. Price transparency builds trust in the Indian market, especially for service businesses where customers fear being overcharged.
Step 4: Add Your Contact Information Prominently
The most common mistake on Indian business websites is burying the contact information. Your phone number and WhatsApp link should appear on every page — ideally in the header or footer. Do not make a potential customer hunt for your contact details. Every second they spend looking is a second they might close your tab and call a competitor.
Create a WhatsApp direct link using the format https://wa.me/91XXXXXXXXXX (replace with your number including the 91 country code). Add a “Chat on WhatsApp” button on your Contact page and your Home page. Indian customers strongly prefer WhatsApp contact over form submissions — this single addition typically increases contact rates by 40% to 60% for local service businesses.
Step 5: Connect Google Search Console and Submit Your Site
Once your website is live, submit it to Google Search Console so Google starts crawling and indexing it. Go to search.google.com/search-console, add your website URL as a property, and verify ownership. For Google Sites, verification is automatic if you are logged into the same Google account. Submit your sitemap if available.
Getting indexed by Google means your website can start appearing in search results. This process typically takes 1 to 4 weeks for a brand new website. During this time, continue adding content, improving your pages, and sharing your website URL on WhatsApp, Instagram, and Google Business Profile.
When Should You Upgrade to a Paid Website?
Start with a free website. Test it. Get your first inquiries from it. Once you have proof that it is bringing customers, upgrade to a paid plan with your own domain name. Your own domain — like yourshopname.in or yourname.com — looks significantly more professional and is worth the ₹500 to ₹1,000 per year it costs. At that point, consider migrating to self-hosted WordPress (wordpress.org) with a hosting plan, which gives you complete control and the best long-term SEO potential of any website platform.
A website is your most important digital asset. Unlike social media platforms — which can change algorithms or ban accounts — your website is something you fully own and control. Start building it today, even if imperfectly. A simple website live today is worth more than a perfect website still being planned next year.
Need guidance? Write to us at support@theanshika.in.